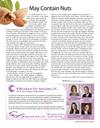
DIY Nail Art Design
I have seen countless DIY projects shared on social media and
found that nail art is one of the more common “how-to” videos I have
come across. Sure, they all look amazing but is it really that easy? I
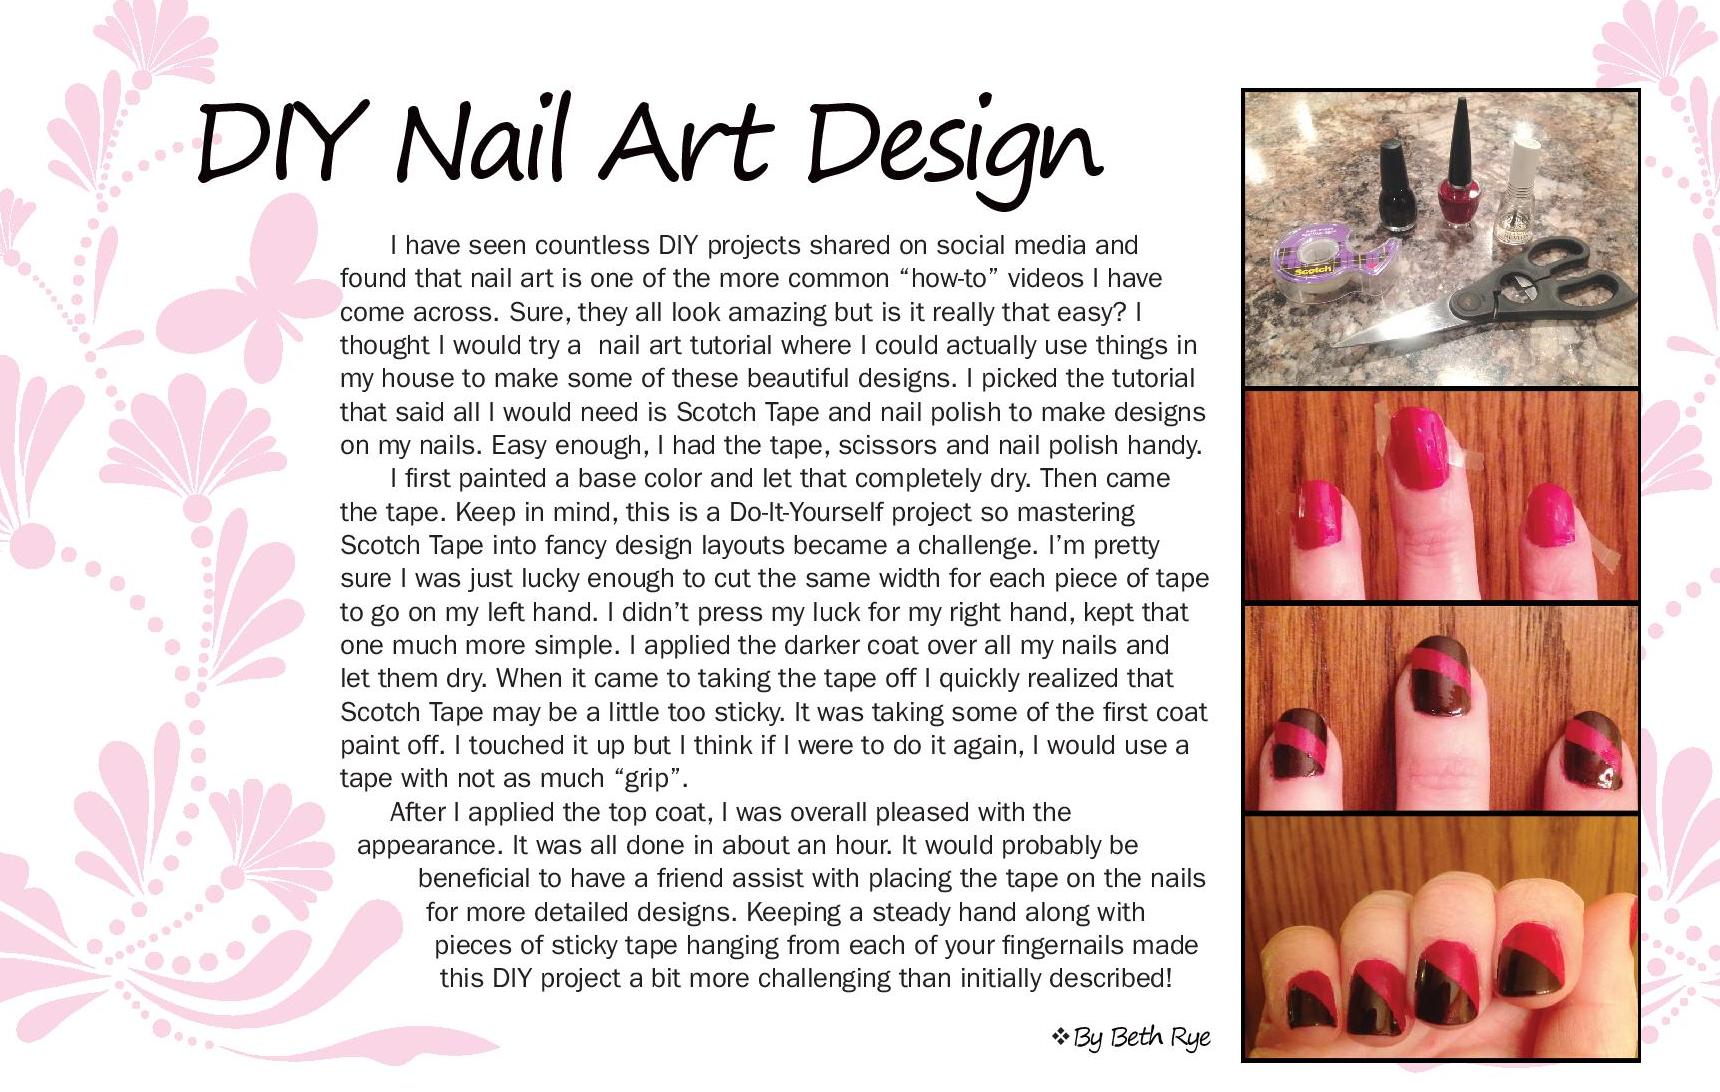
thought I would try a nail art tutorial where I could actually use things in
my house to make some of these beautiful designs. I picked the tutorial
that said all I would need is Scotch Tape and nail polish to make designs
on my nails. Easy enough, I had the tape, scissors and nail polish handy.
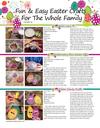
I first painted a base color and let that completely dry. Then came
the tape. Keep in mind, this is a Do-It-Yourself project so mastering
Scotch Tape into fancy design layouts became a challenge. I’m pretty
sure I was just lucky enough to cut the same width for each piece of tape
to go on my left hand. I didn’t press my luck for my right hand, kept that
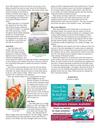
one much more simple. I applied the darker coat over all my nails and
let them dry. When it came to taking the tape off I quickly realized that
Scotch Tape may be a little too sticky. It was taking some of the first coat
paint off. I touched it up but I think if I were to do it again, I would use a
tape with not as much “grip”.
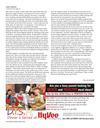
After I applied the top coat, I was overall pleased with the
appearance. It was all done in about an hour. It would probably be
beneficial to have a friend assist with placing the tape on the nails
for more detailed designs. Keeping a steady hand along with
pieces of sticky tape hanging from each of your fingernails made
this DIY project a bit more challenging than initially described!
vBy Beth Rye
10vHERVOICEvMARCH/APRIL 2016


 Previous Page